
A screenshot primer for making Swell videos.
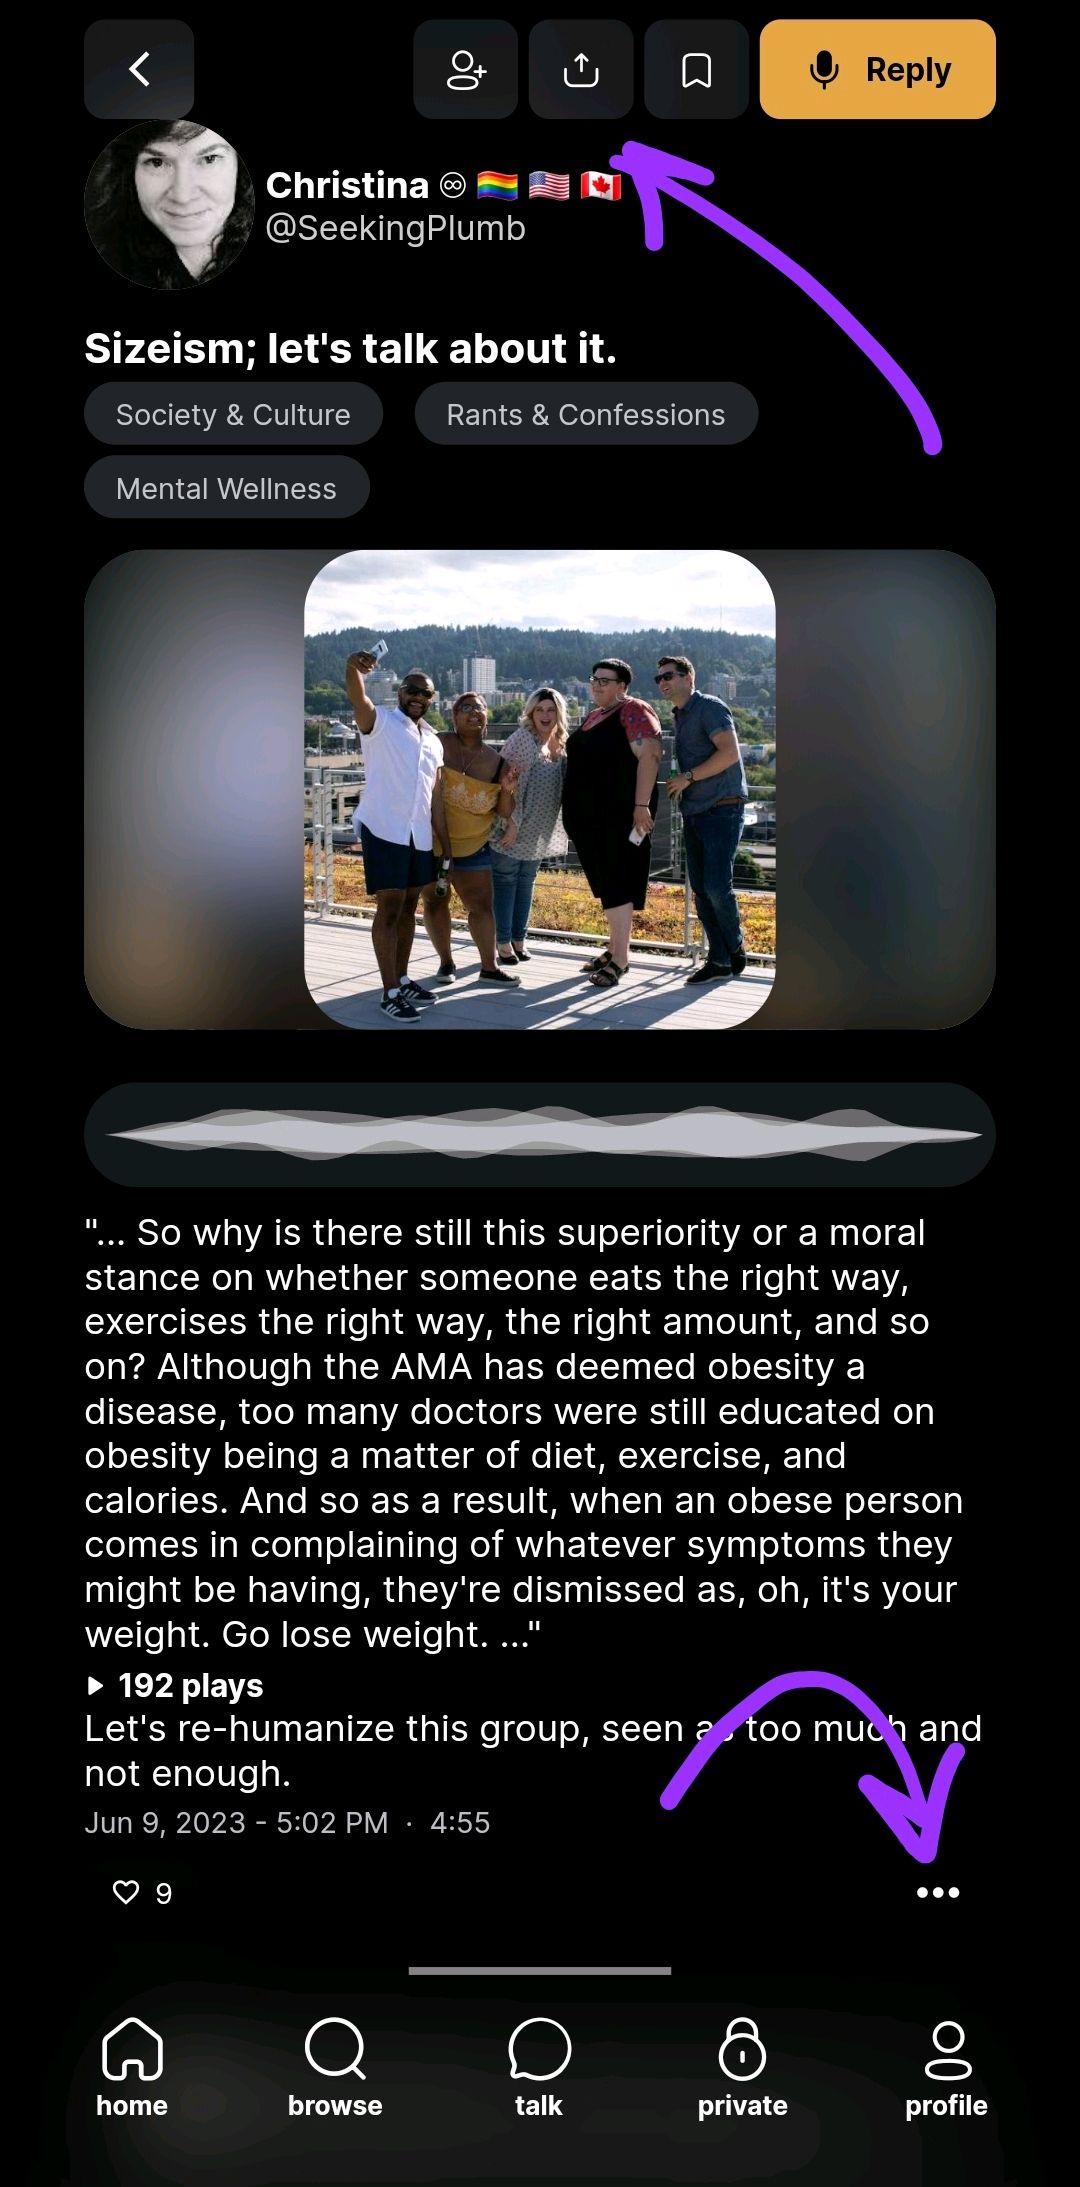
So some of you have already jumped right into creating Swell videos using this new feature made available to us. And some of you may not be sure exactly what a Swell video is and when you would want to use one and how to create one. So I thought I would attempt creating a bit of a primer for you. So, what is a Swell video? It is a convenient way to package a snippet of your audio to be able to share it on other social media platforms
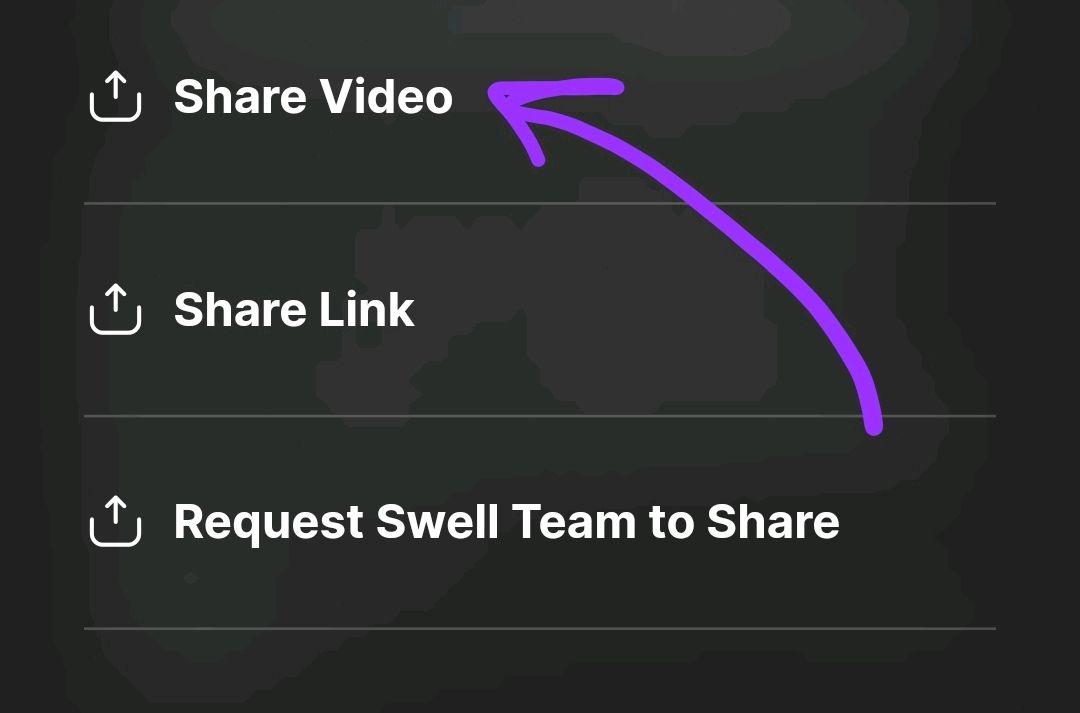
After you click Share, you'll see a new menu that looks like this share video share a link or request that the Swell staff share your Swell. So click Share a video
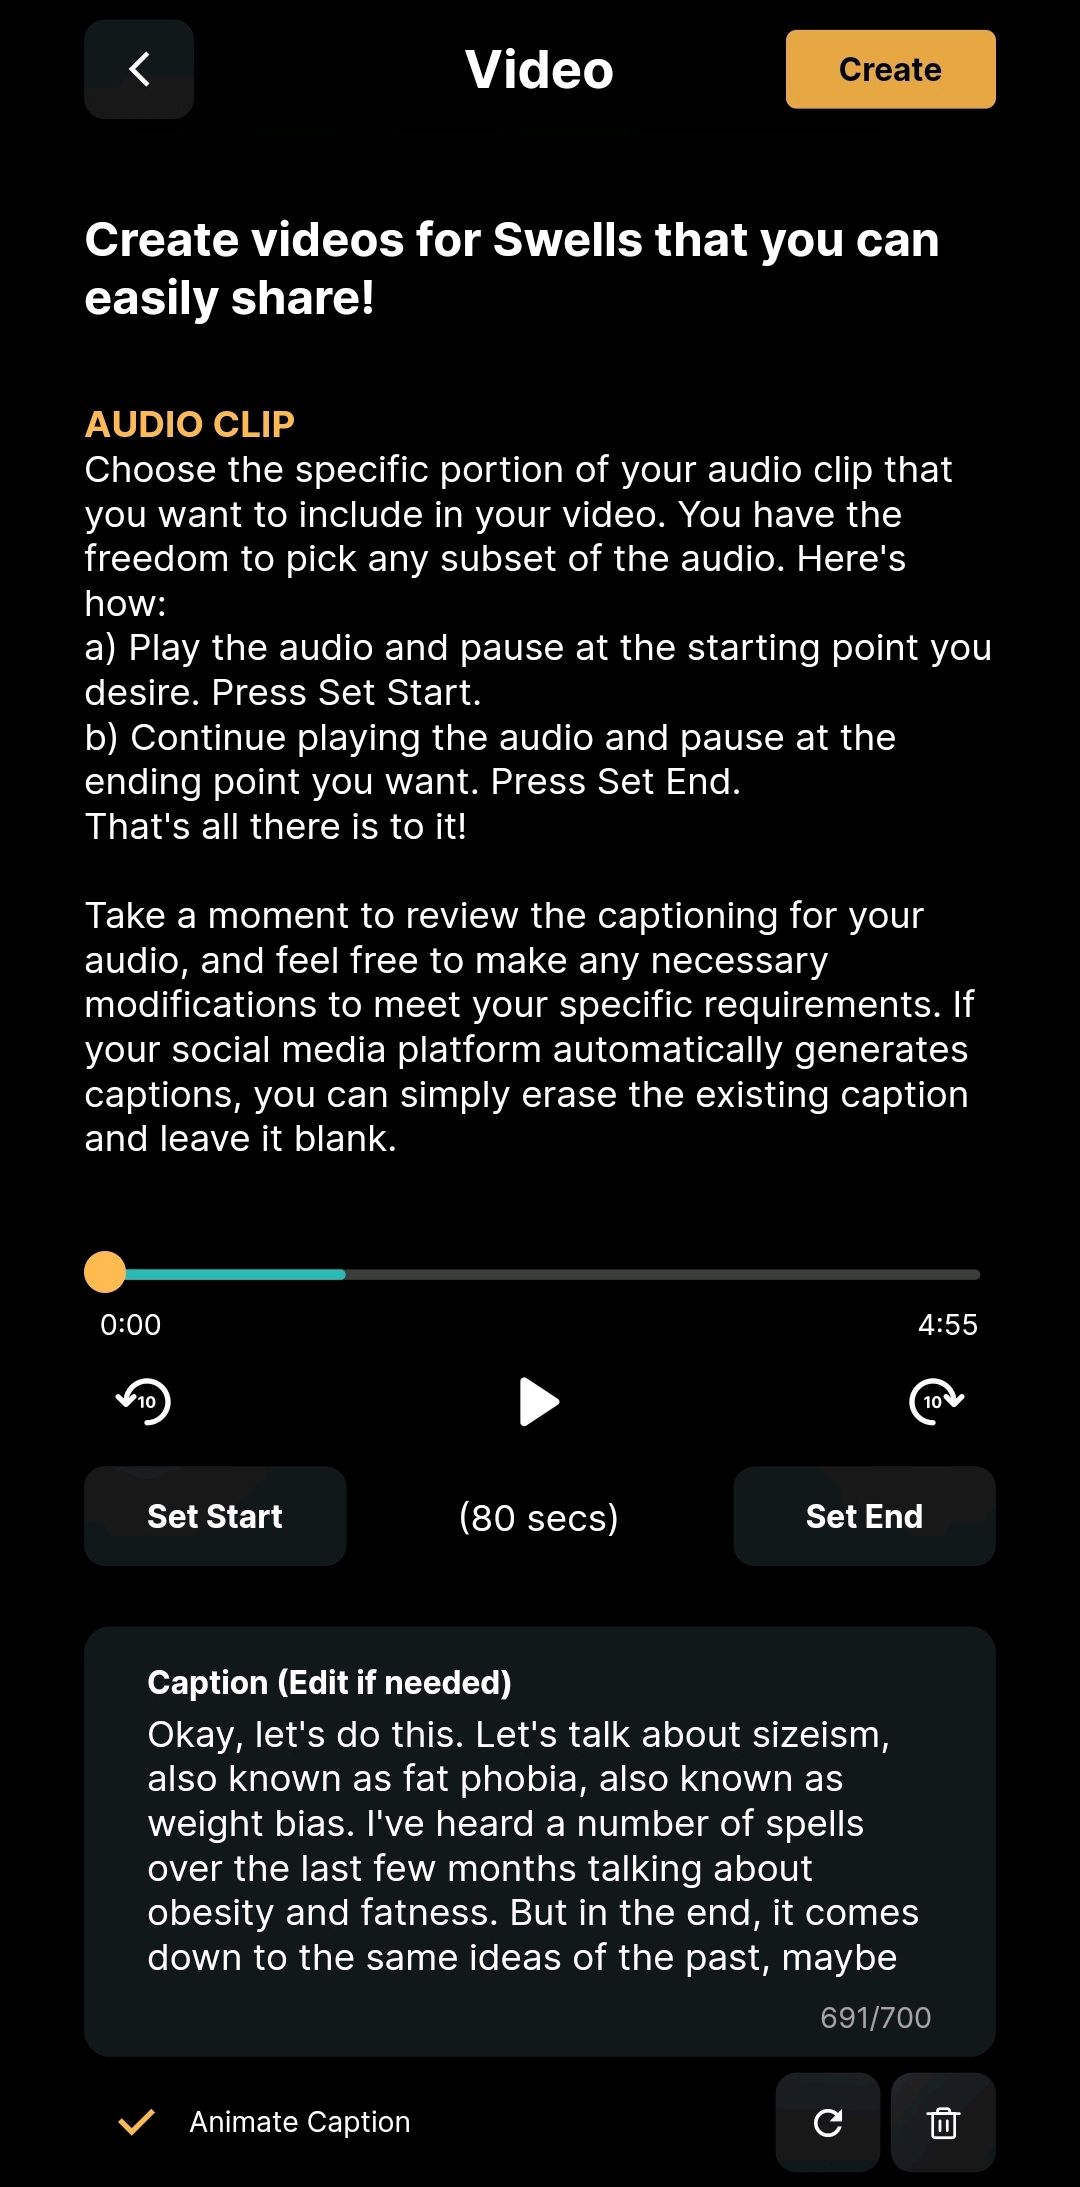
Although the paragraphs will walk you through this process, I thought would also do it with you here as well. So around the center of that screenshot you will see a few buttons, a Play button backwards 15 forwards, 15 Set Start, and Set End. These will help you navigate your audio so you can choose where to start the video's audio and where to end it. By default, it starts at the very beginning and gives you the maximum number of seconds
And then to the right, you'll see I think that's an undo button and a delete button. I'm guessing the delete will remove all captions and the undo to fix whatever you just did that you want to undo anyway. Beneath that, there's an option to customize the title of your video. So maybe you don't want to stick with the title you used on Swell and you want to put something new in. This is where you can do that
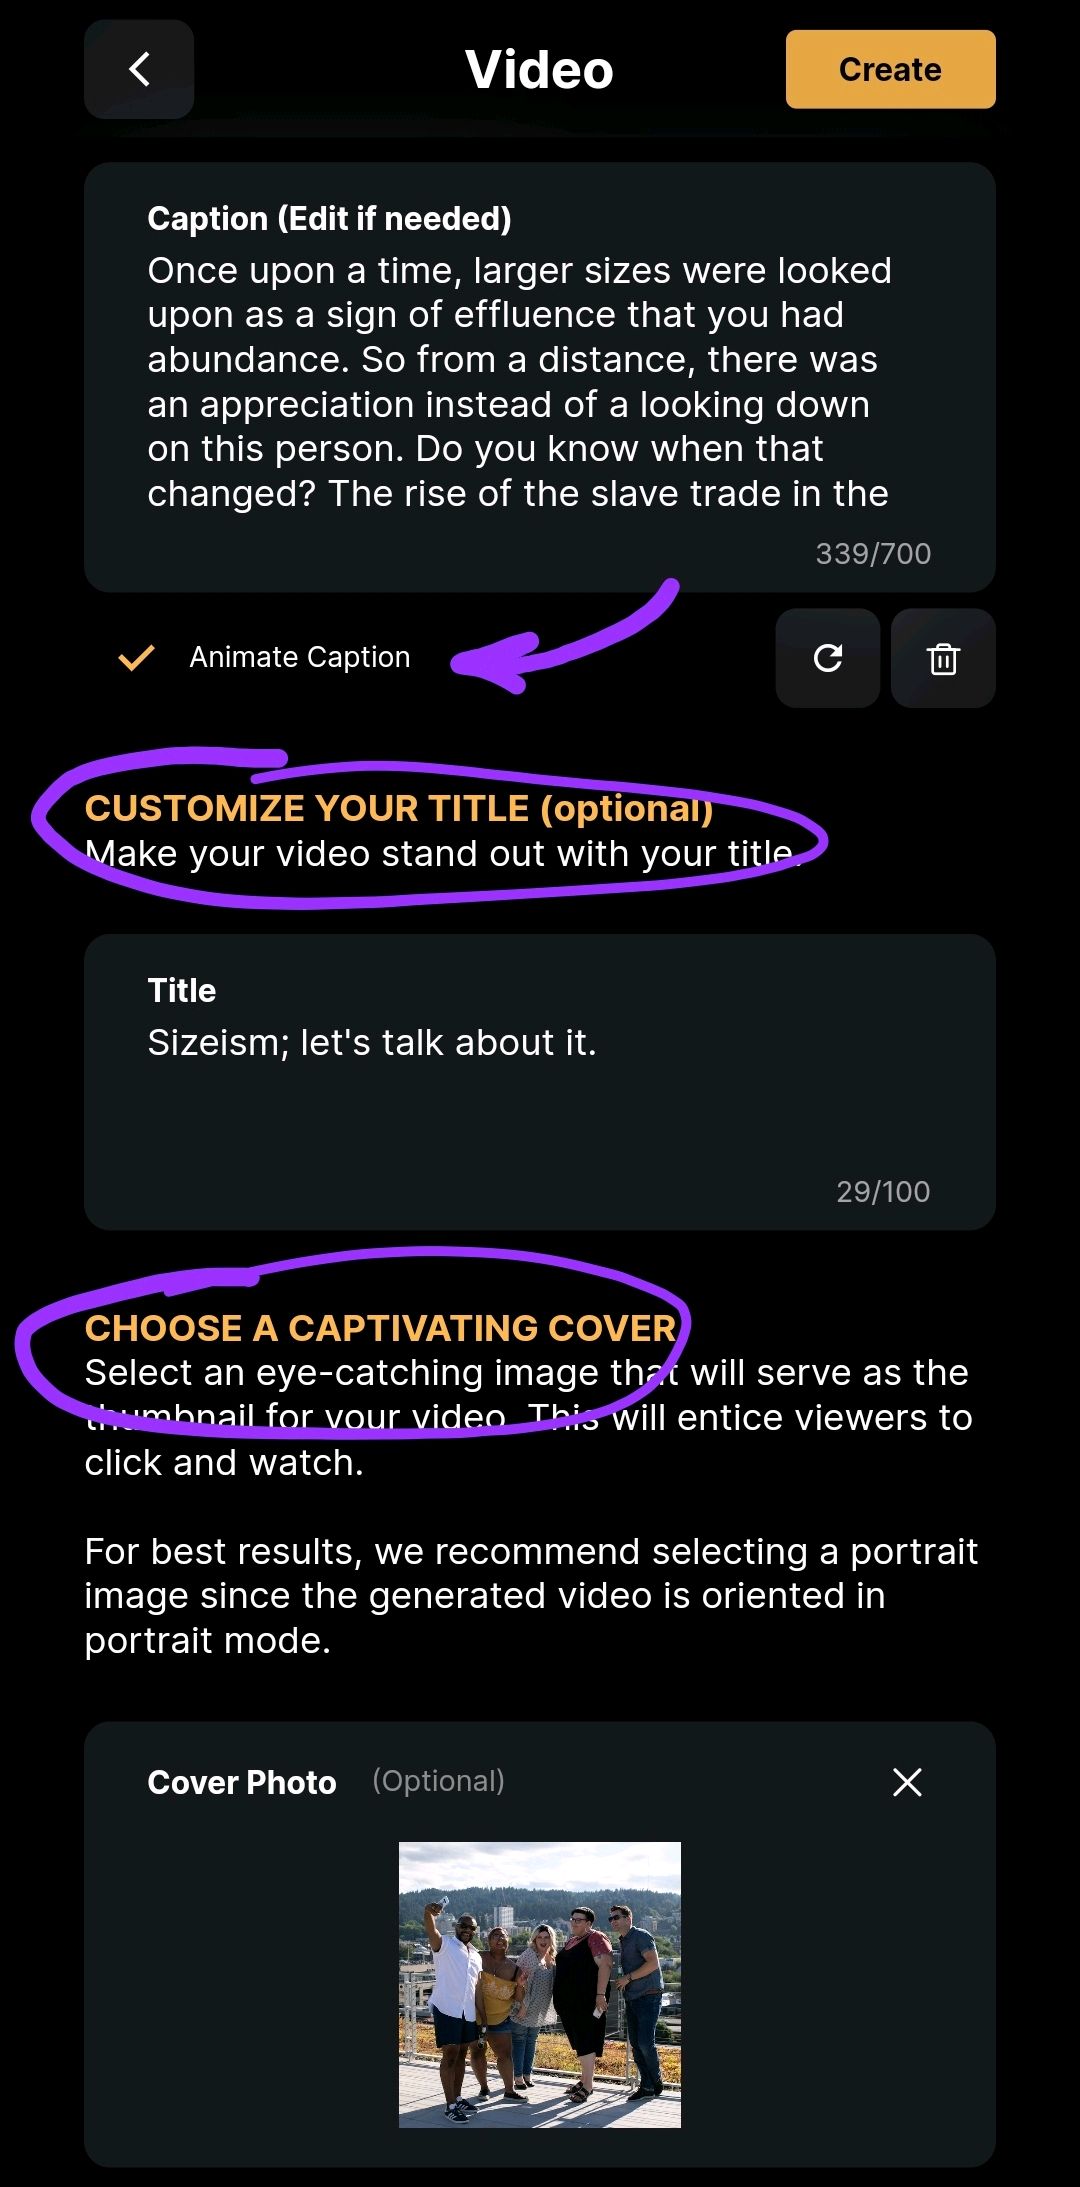
Okay, so now we have selected our audio clip, we've tidied our captions, we've customized our title and chosen a cover photo. And now you have a few more options to you. And these are optional. You can be done with creating the video right now and just hit Create. Or you can delve into these other options. If you create the video right now, the only visual that will be seen is the original cover that you add to it
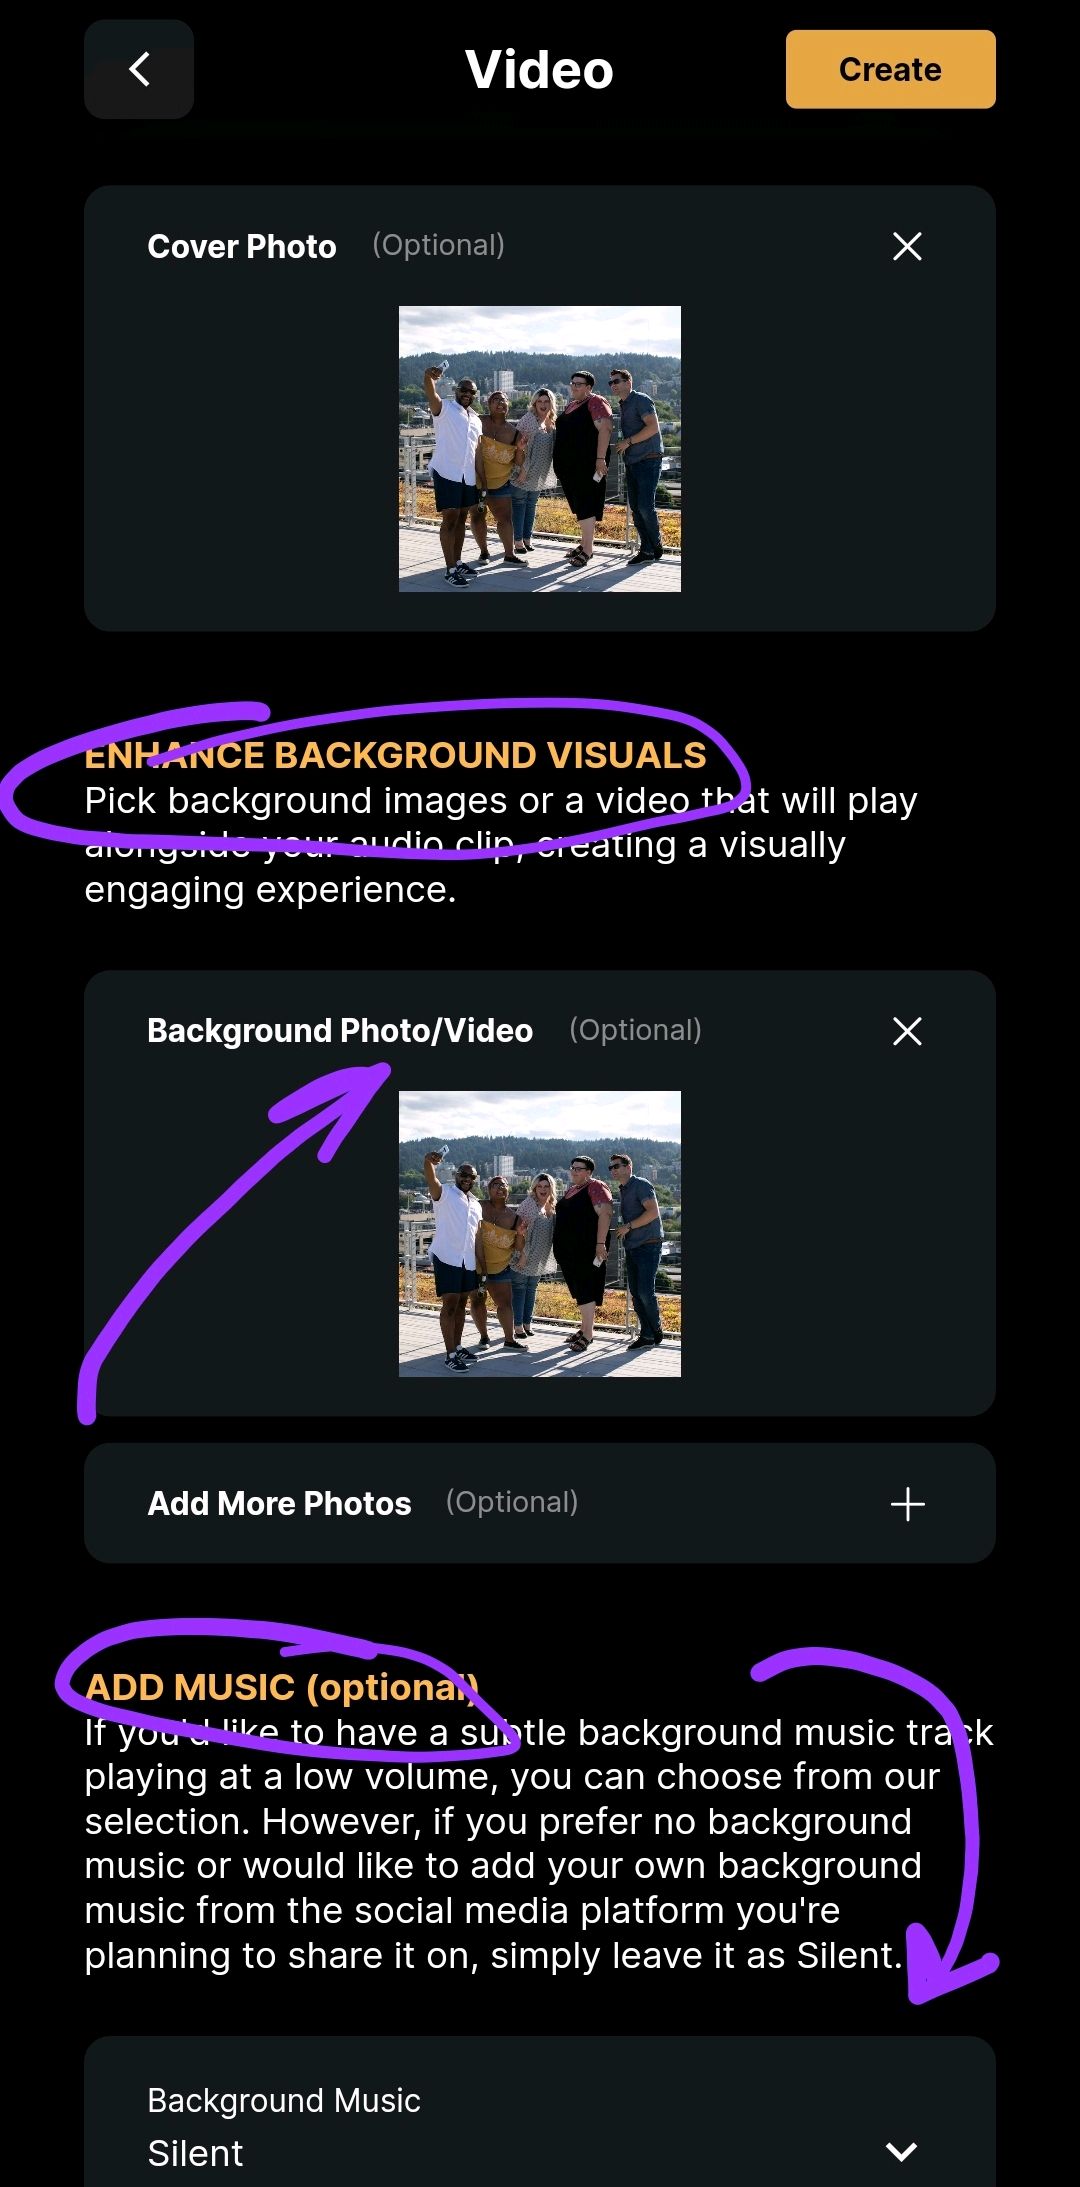
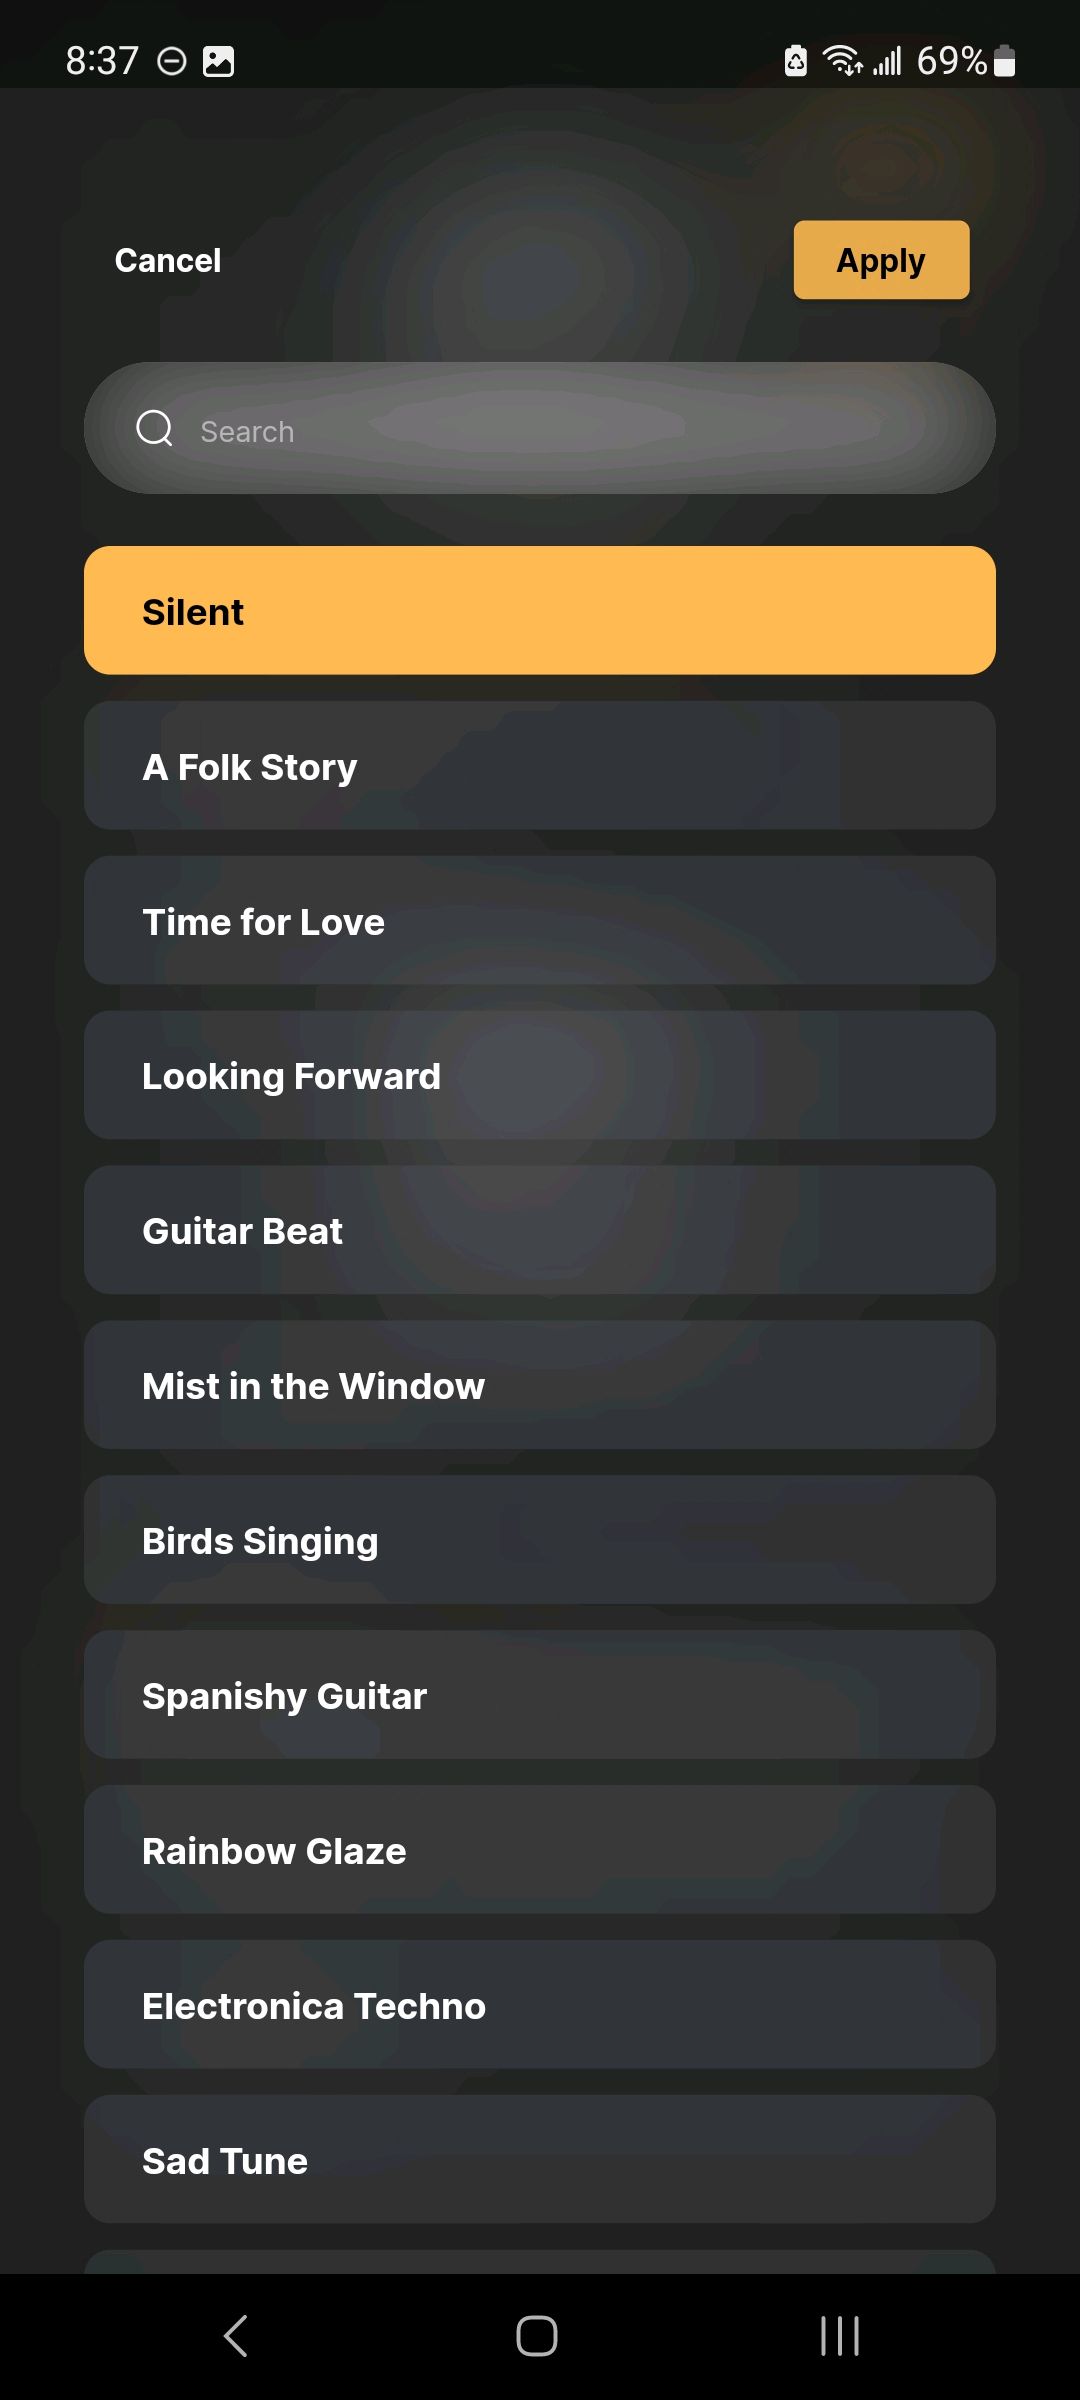
This screenshot shows you a few of those musical options
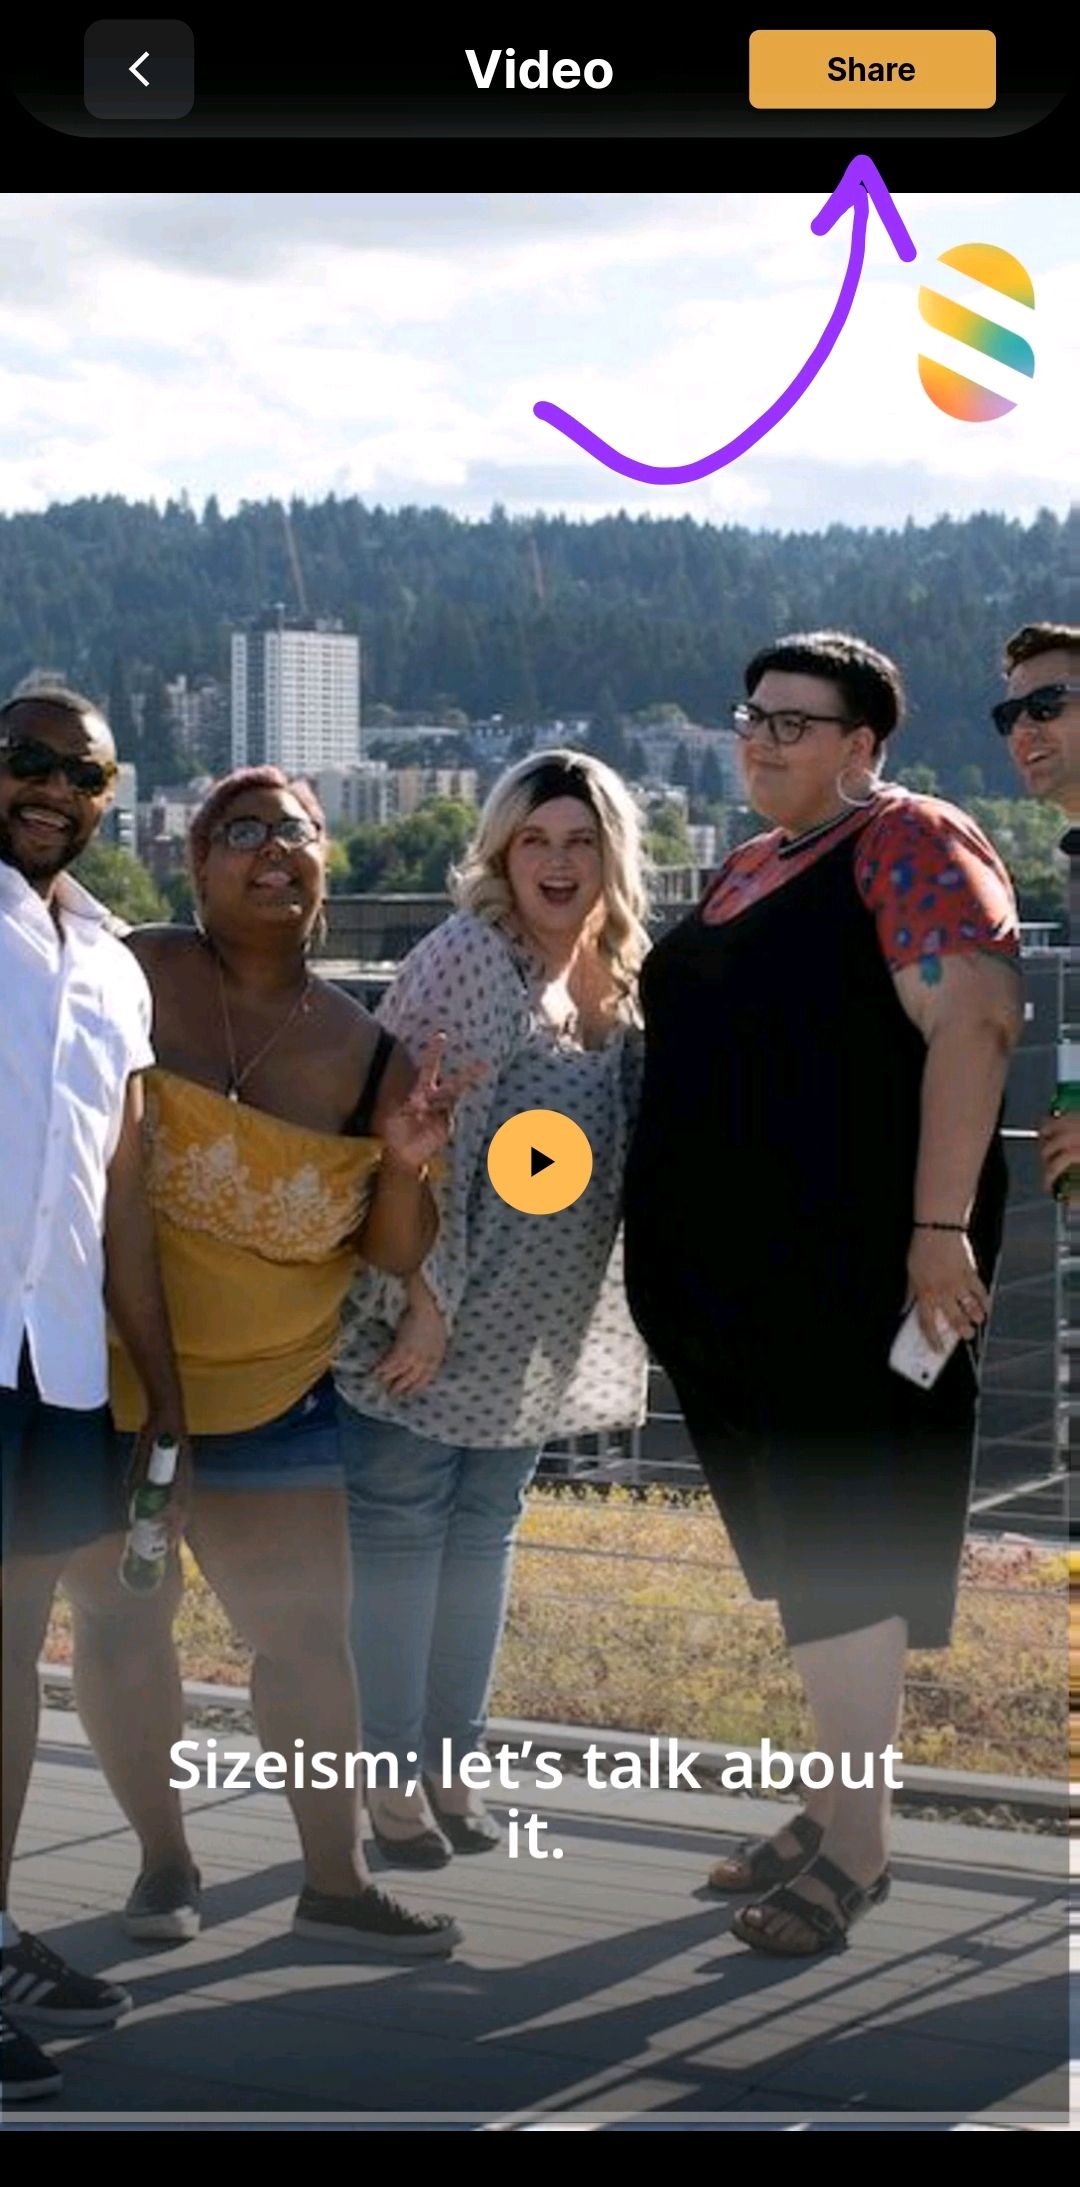
If you want to see that, scroll back up this page to one of the screenshots earlier and you'll see that Create button. Then you'll receive a notification that says that Swell needs to have the little gremlins on the back end do their thing and put your video together. You'll then receive a notification when it's ready. When you click on that notification, this is what you'll see a finished product of your video
Swell Team
@Swell · 0:15
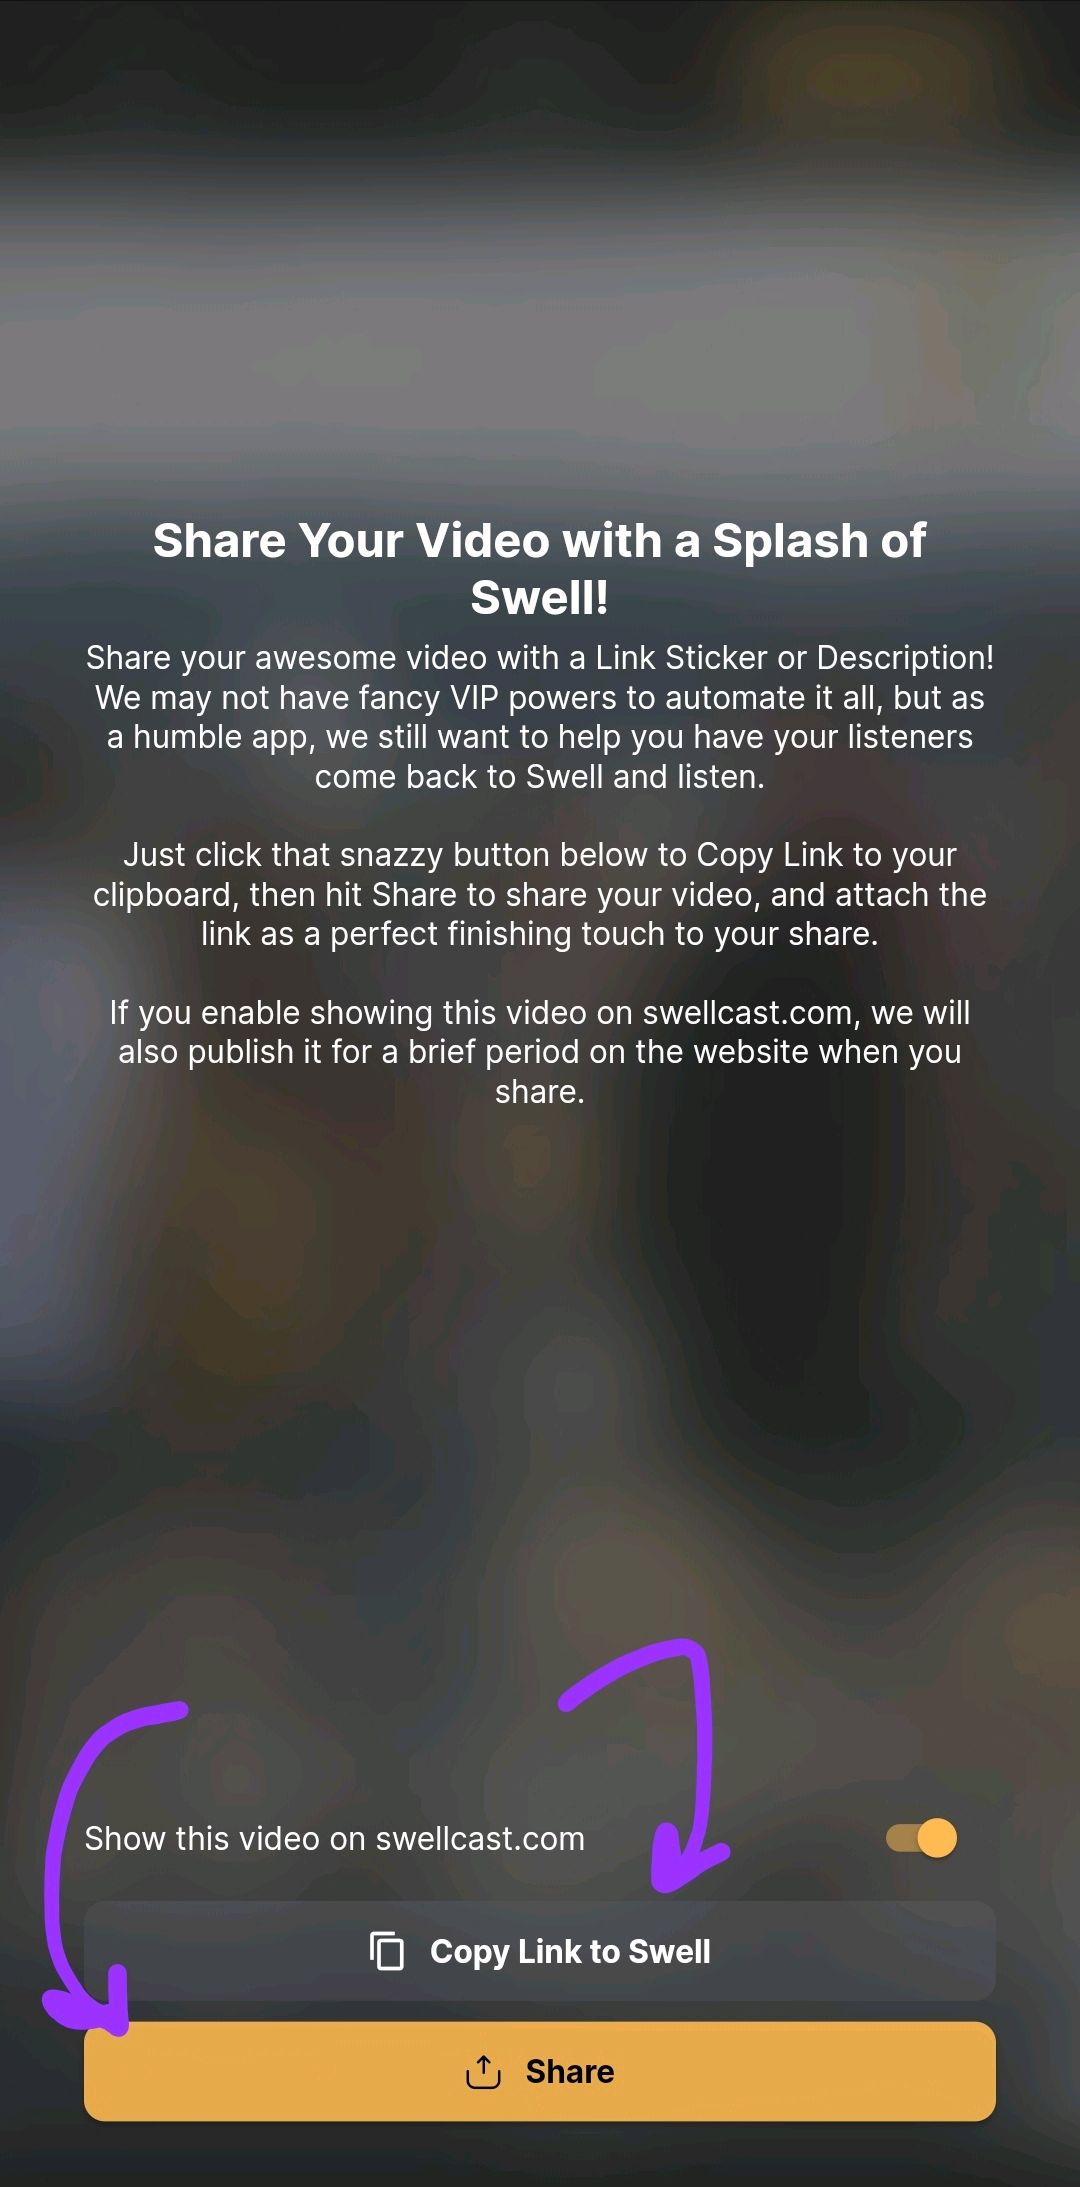
It'll take you to the final page. And this is really important. There are two buttons on this screen. One is to copy a link to the Swell cast. And this is really important because after you create that video, you want to give your listeners, your viewers an ability to come back to your Swellcast and listen to it, not just be teased by this video that you've created for them, you want to give them a path back
And finally, the finished product. If you'd like to see an example of this, you can click this link. It'll take you to a Swell video that I made using uploaded photos. And there you have it. You've created your very first Swell video. Like I said, the really cool thing about this is you can do this for your own Swells or someone else's Swell. You can even do this with replies. And with that, I think it about wraps things up


Barbara 😃💙🎻🥁
@Digitalpenz · 0:18
You. Thank you. Thank you. Thank you. Christina, great job. Thank you for taking the time to explain all that. That was a big, big help. Thank you so much
Hey, Christine. Again, thanks for all of that. I actually took notes on it. It was so thorough. I know. Here at the end you mentioned that you can do the same thing in the replies. By same thing, do you mean create the same image progression of photos that I'm able to do in the original Swell cast itself? That's going to be shown on the other platforms
One is using the Share button at the very top of the screen, or the other one is hitting those three dots. And so if you want to create a video for a reply, you pick the reply you want and you hit the three dots. And then you begin this process of all of the step that you saw to create a video for that reply. I hope that clarifies
Yes, I believe it does clarify. Thank you, I suppose. I mean, I don't imagine running into many hiccups after your thorough class that you taught in this, but I guess at some point, it's just going to be trial and error. So, yeah, I'm looking forward to giving this a shot. Thanks so much